
inspired by: This blogger's post
Finished Size 55” X 74”
192 Nickels
1 yard neutral [or framing fabric]
I did it - I finally finished this quilt which is the result of an HGTV quilting board challenge. I'd taken enough pictures along the way that I thought I'd do a simple tutorial to show you how I'd done the process and even some of the trouble I ran into along the way.
I started out with 5”X5” pieces of fabric (several were exchanged with other members of the group swap hosted by KC1930). Trim the nickels down to 3 ½ X 5.
Pick out your complimentary fabric – mine was the tan, and cut lots of 1 ¼ “ strips and attach to each 5” side of your trimmed pieces. Press toward the neutral fabric. Your new-framed piece should be back to the 5” square.

Start laying out your brick pattern in a 4 X 4 grid like the picture and sew up 12 of these blocks. They should measure out to 18” square when you are done. Make 12 of these.
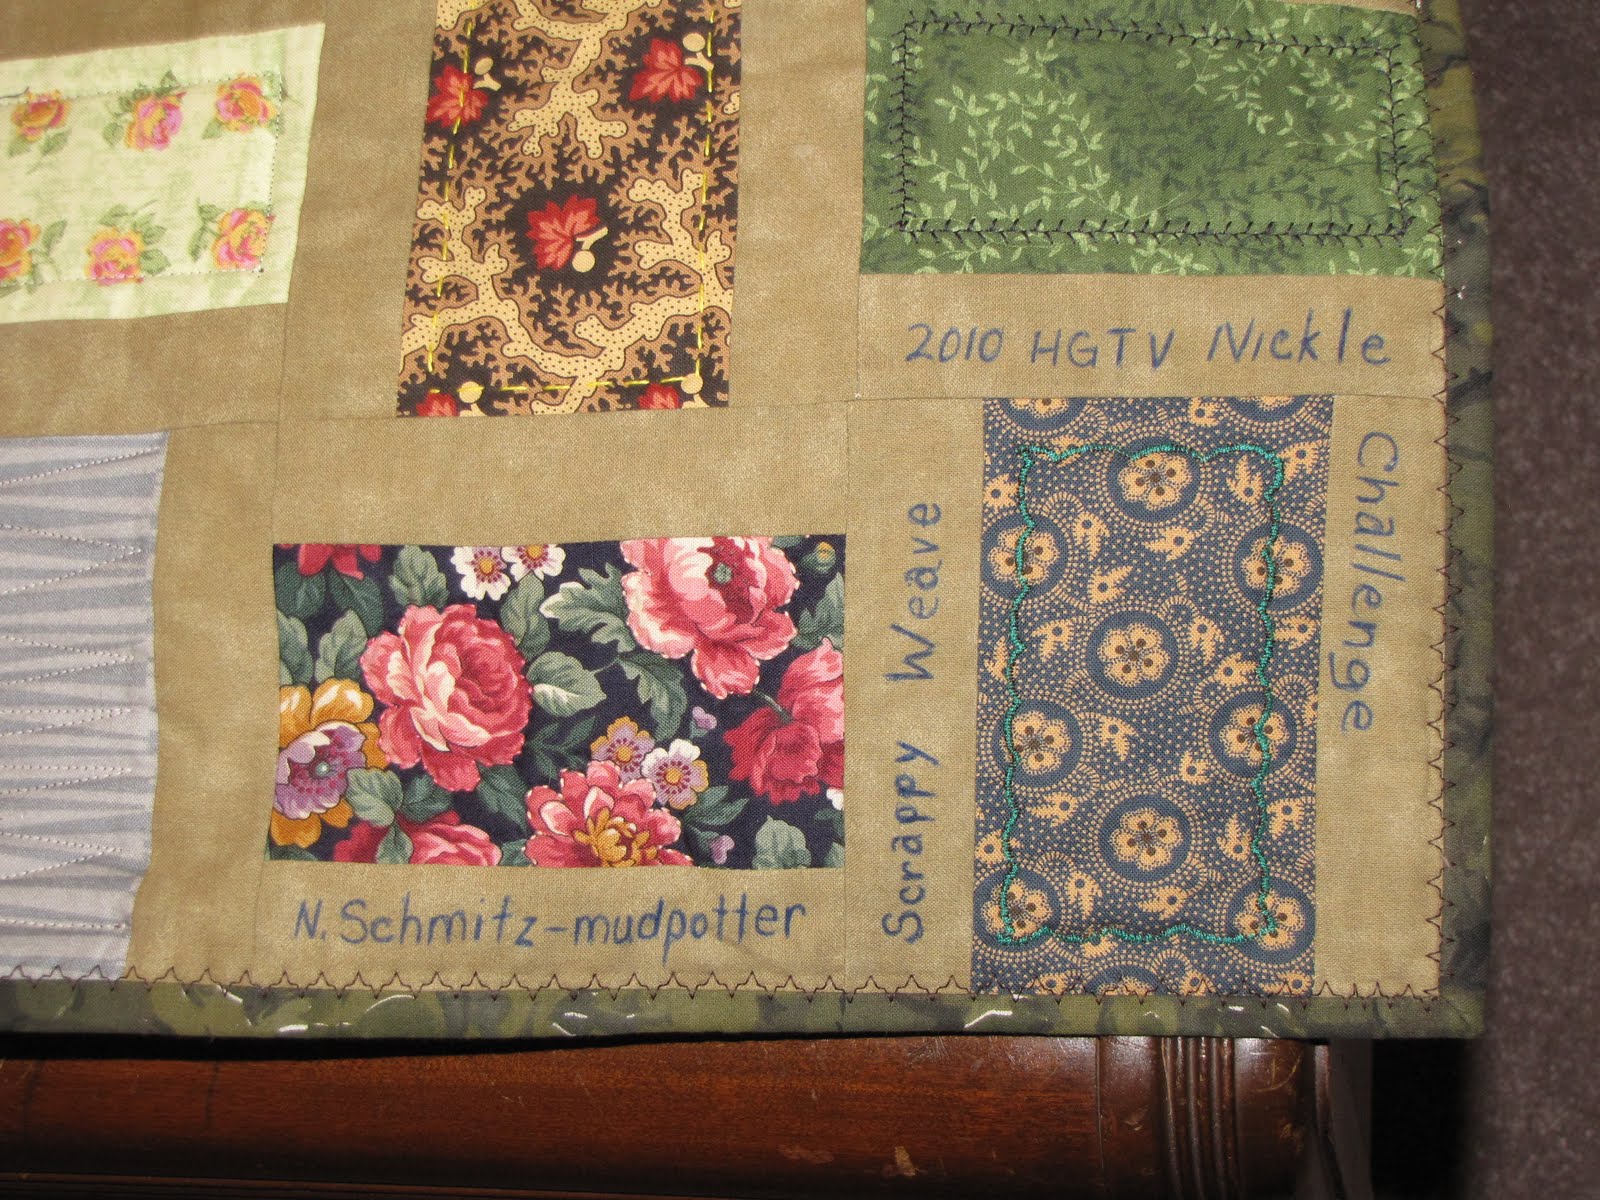
Cut 12 pieces of batting and backing at 20” square, and make your quilt sandwiches. You will now have 12 easily portable pieces to work on when riding along in the car, waiting for appointments, or watching TV. I tried a bunch of different things with mine including machine stitches, big stitch with perle cotton, and even a little outline embroidery.
Putting it all together
Now it’s time to put it all together.
 Start by folding and pinning back the backing fabric so you don’t cut into it.
Trim the excess batting away – being careful to NOT cut your backing.

Then trim your backing fabric to 1” larger than your block and batting.

Line up 2 of your large blocks together with backing fabric next to each other. Stitch these 2 blocks together – using your batting as your stitching line.

Press seams open, then fold down ½ of the seam and press it down. Using a decorative stitch, stitch this seam down on both sides.
Continue till you have paired all 12 blocks into 6 pairs.
Pair up each of these pairs with another pair and repeat the joining as you did above.

You should end up with 3 strips that are 4 blocks long.
Here you can see part of 2 of my 3 long strips.
Join your 3 strips in the same manner so you have quilt nearly completed with 3 blocks across and 4 down.
Square up your quilt, bind it - and your DONE

No comments:
Post a Comment